This is a step-by-step guide on how to add your location and site plans purchased through MapServe® on the newly updated Planning Portal website. You can skip to number 9 if you are familiar with the Planning Portal website and you simply want to learn how to upload your MapServe® purchased plan to your application.
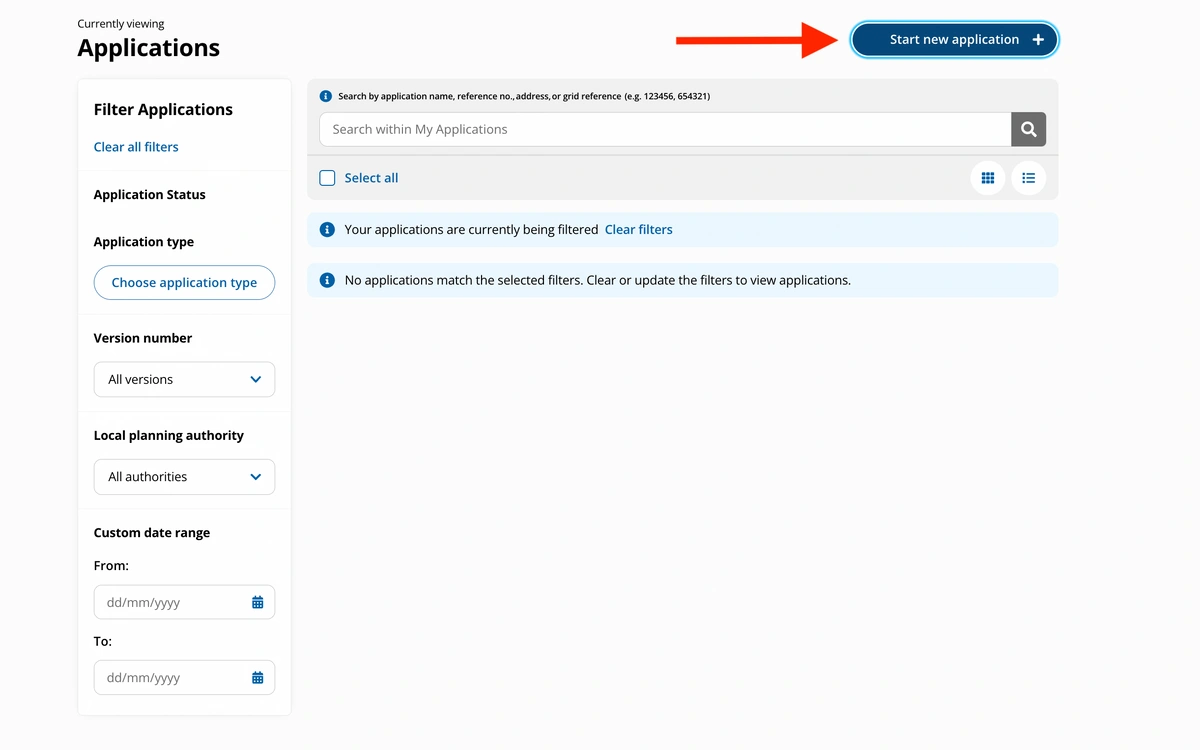
1. First you need to click 'Start new application' on the top right of the screen.
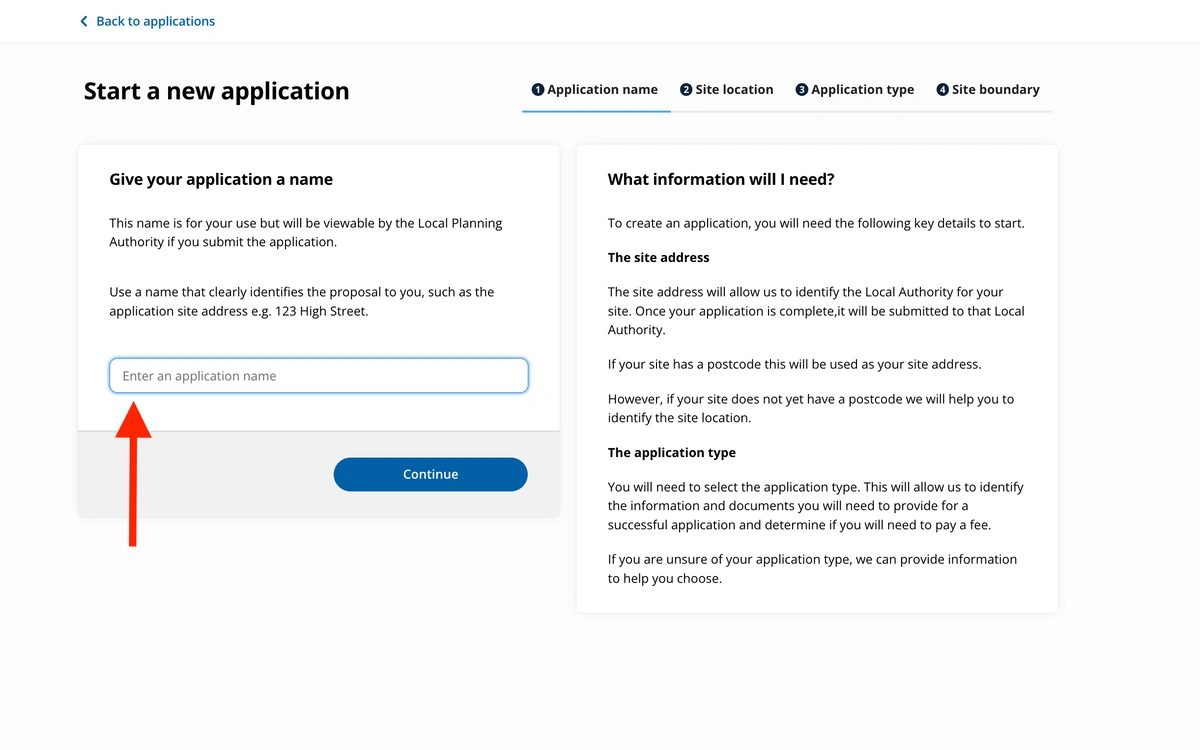
2. Then, choose an application name, for example 'house extension' and click 'continue'.
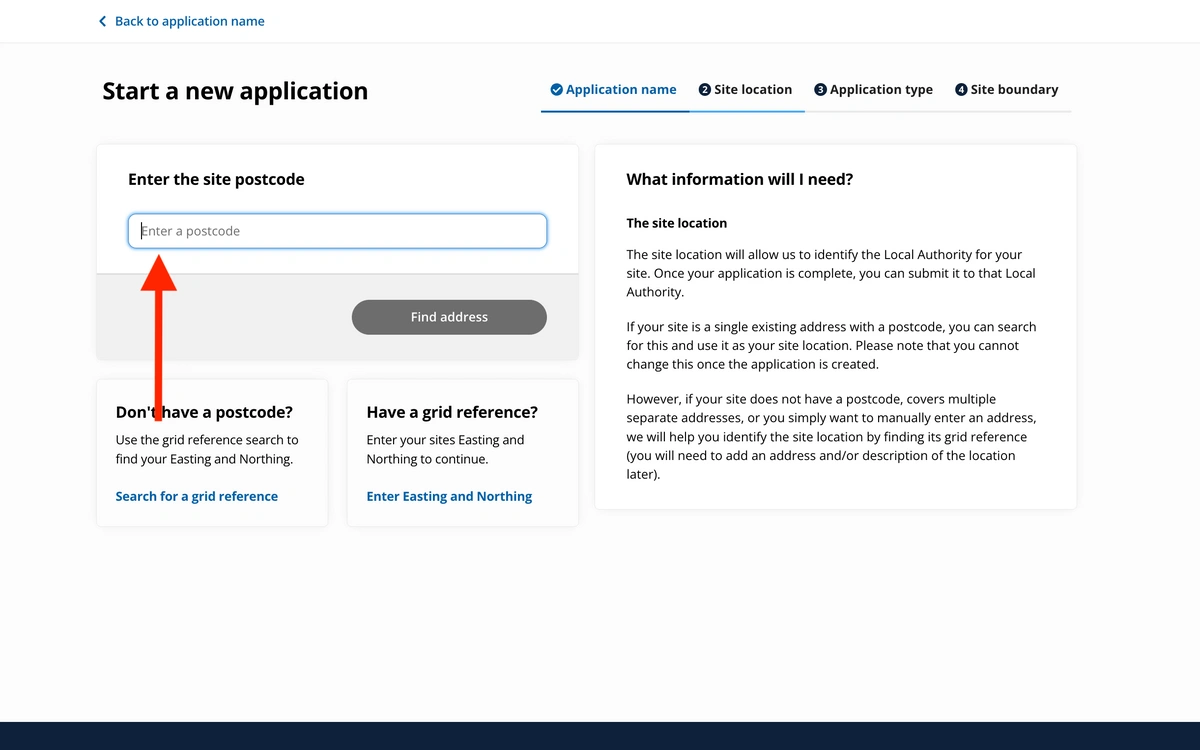
3. The next step is to locate your property. Type in your postcode and click on 'Find address'.
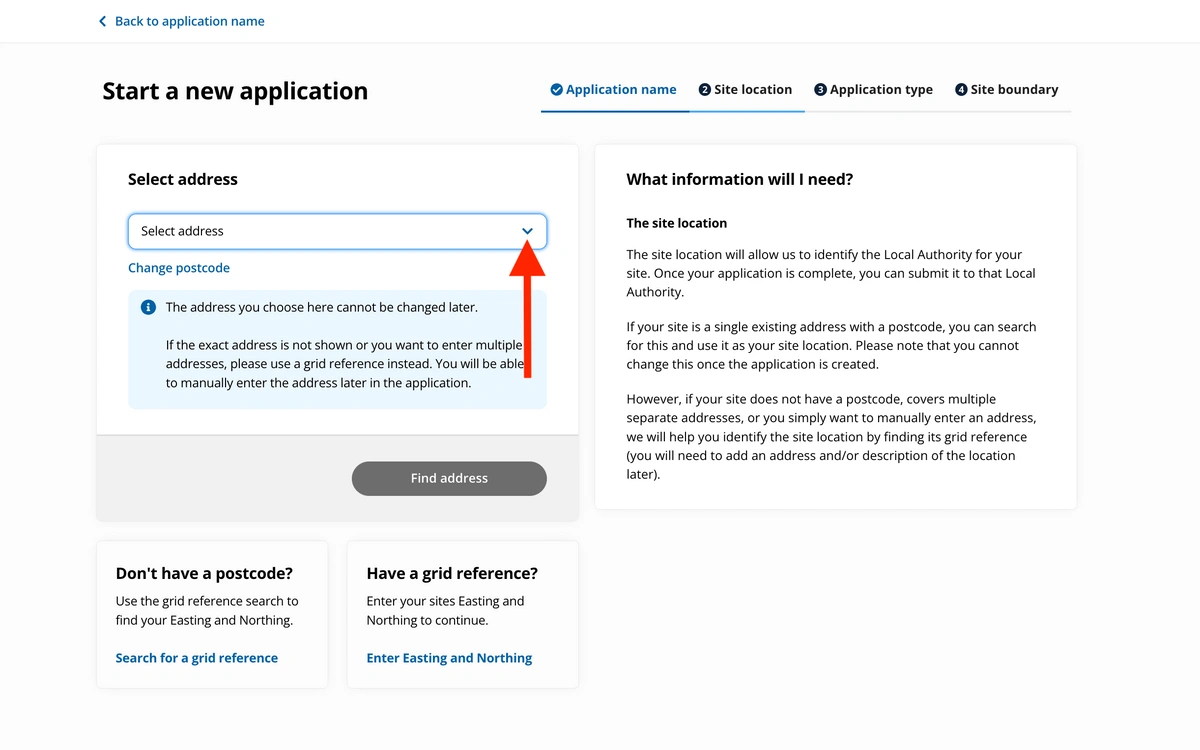
4. You can then select your address from the drop-down list that appears. If you do not have the postcode of your property you can use the grid reference number. You can use this website to find it.
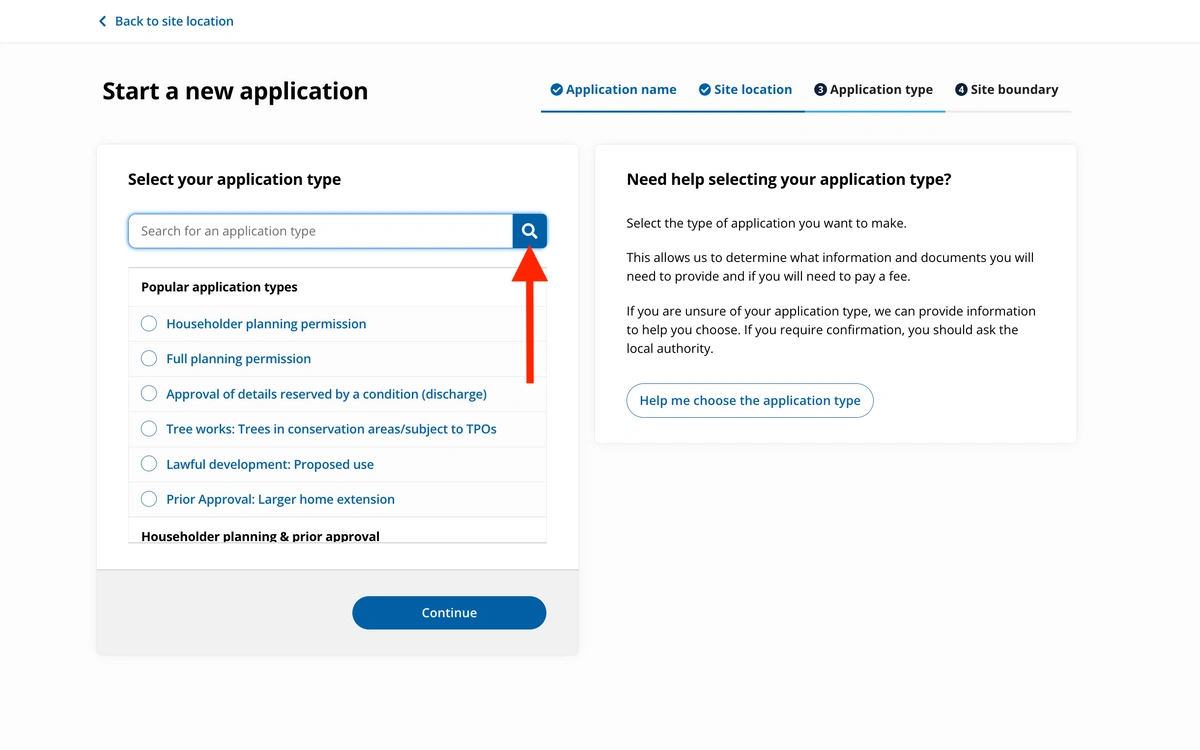
5. Another list appears where you need to choose the type of permission you are applying for. For example 'Householder planning permission' if you are the property's owner and you are looking to make amendments to your property.
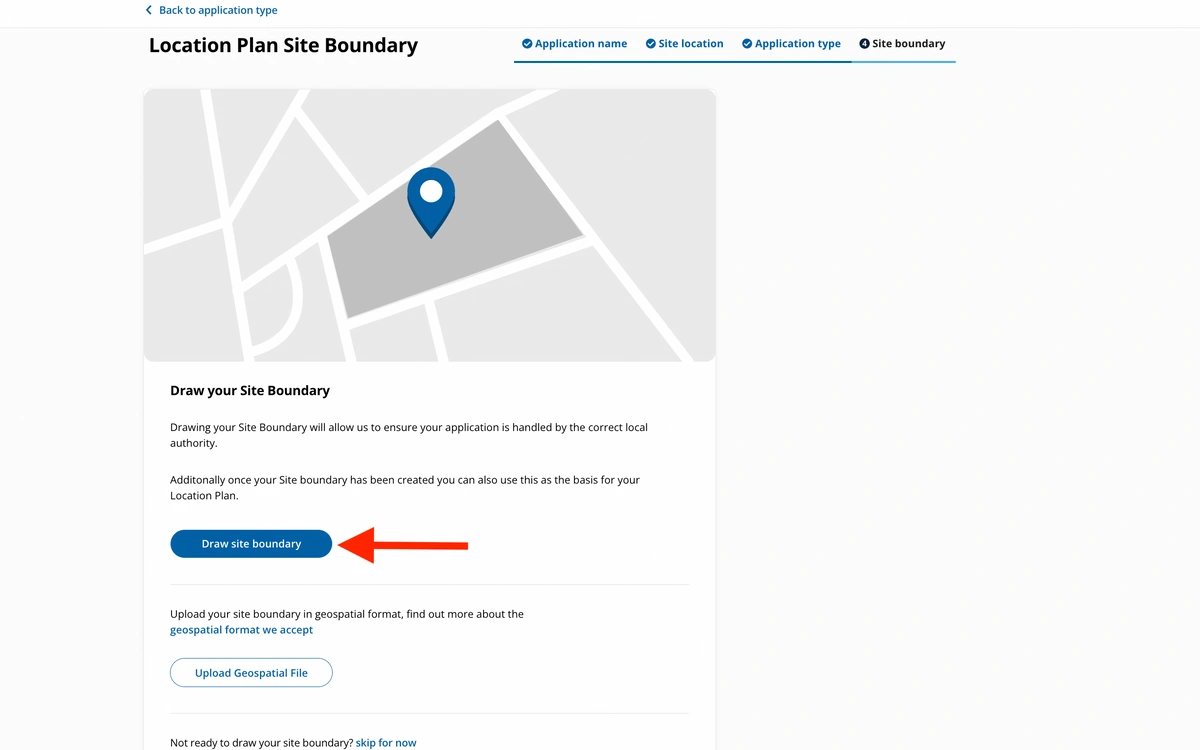
6. The next step is to draw your site's boundary. Please click on the blue button that says 'Draw site boundary'. If you happen to have a geospatial file that includes this you can use that one by clicking on 'Upload Geospatial File'.
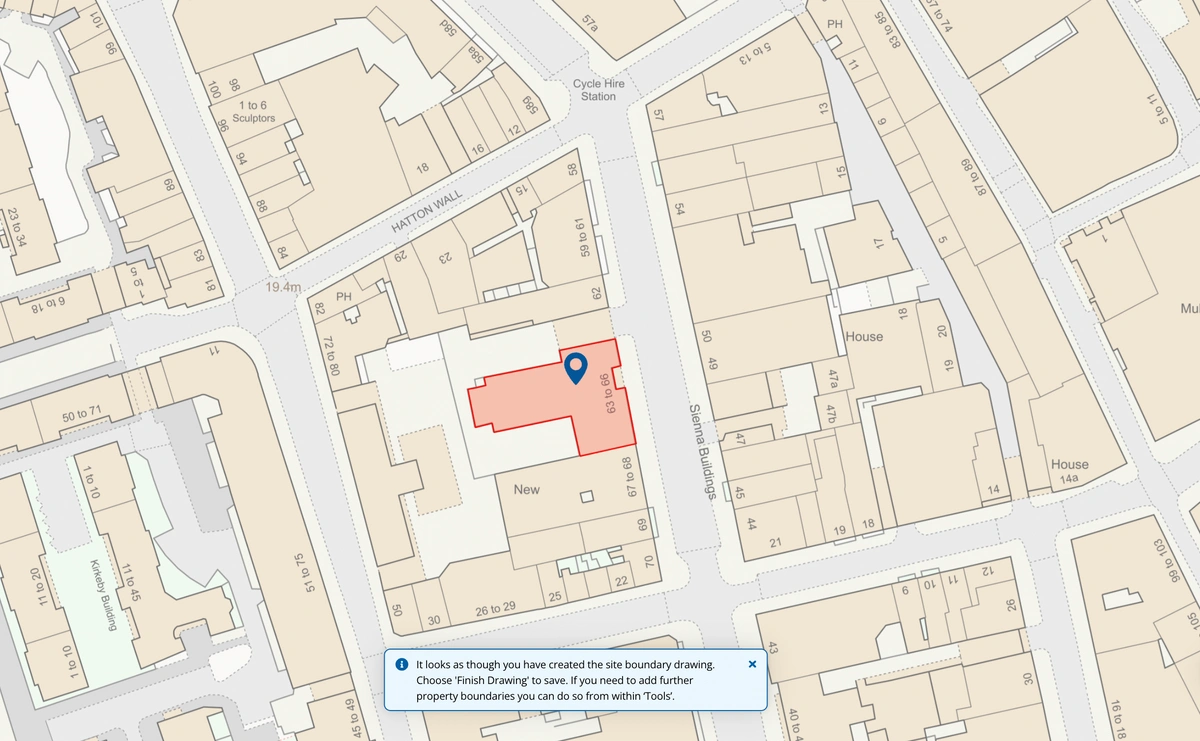
7. A map will appear, centred on the property you have selected. You can use the available tools to outline and colour your property or any changes you wish to make using the red colour. Any additional properties owned by the same person in the area should be highlighted in blue.
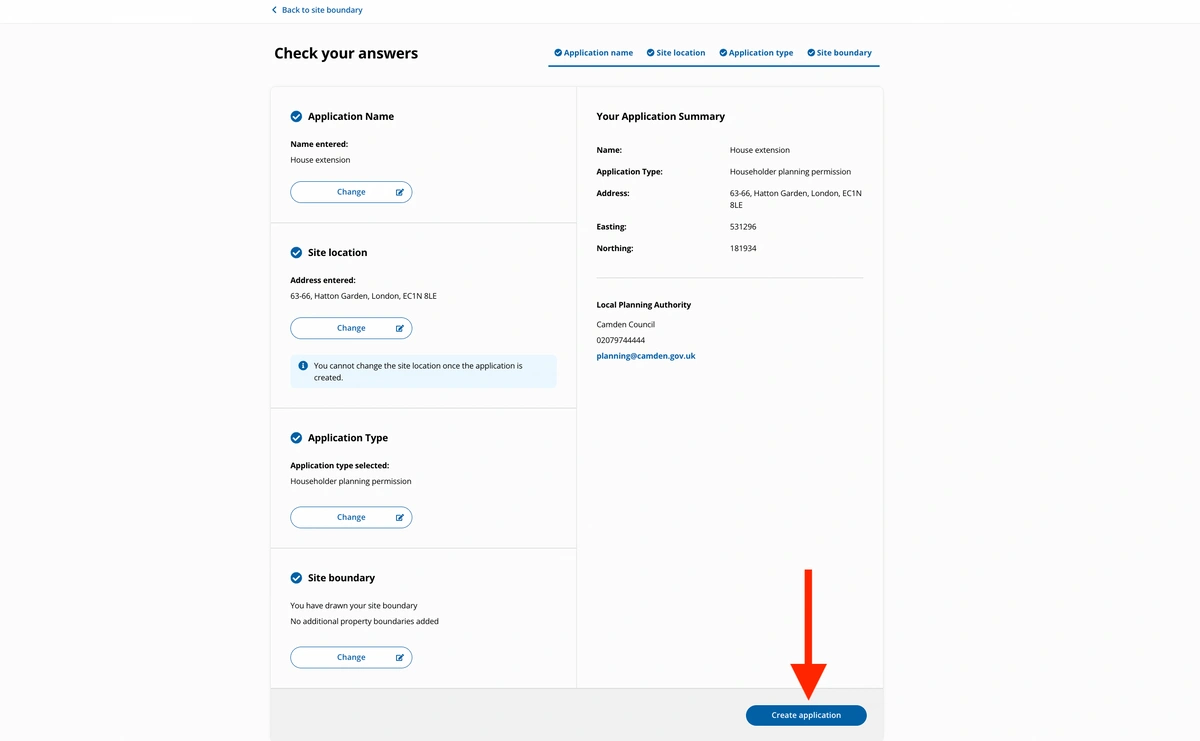
8. The next page will ask you to confirm that everything you have done so far is correct. Please read them carefully before you proceed to the next step. Then click on 'Create application' on the bottom right of the screen as shown below.
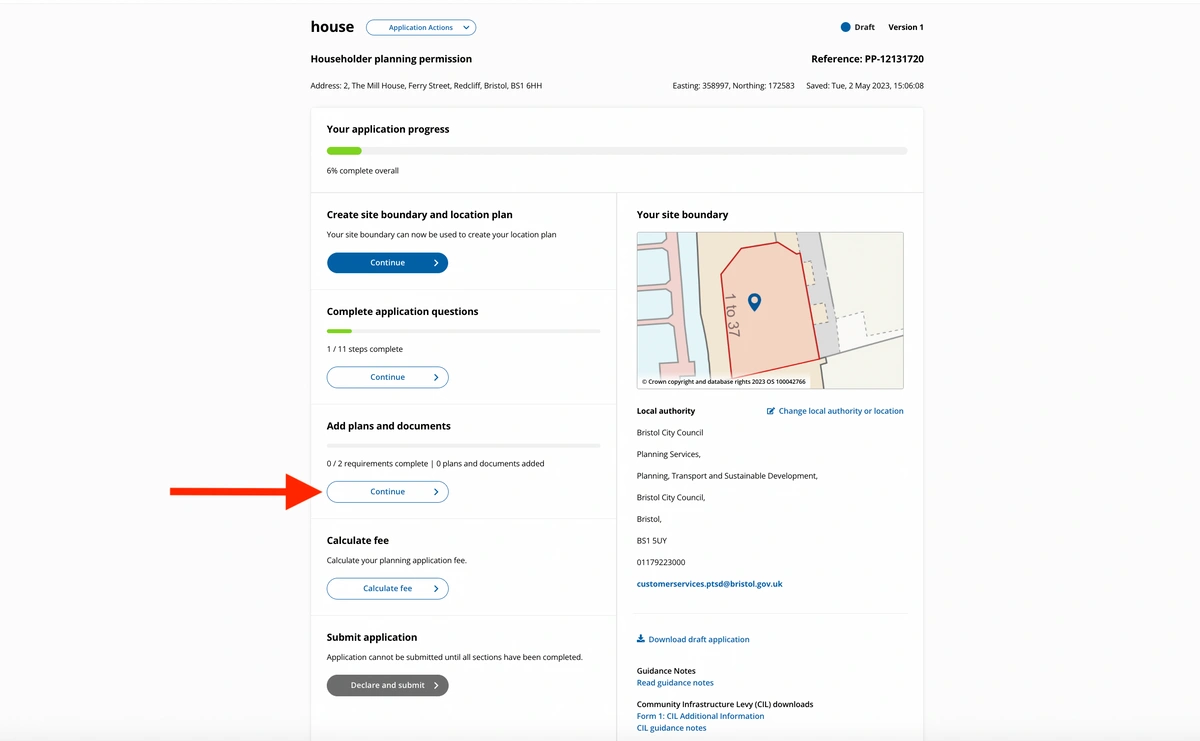
9. You will be able to preview your property's boundary to make sure it is correct during this step. Local authority will be automatically selected for you so make sure this is correct before you proceed. You can then add your MapServe® plan and supporting documents by clicking 'Continue' under 'Add plans and documents'.

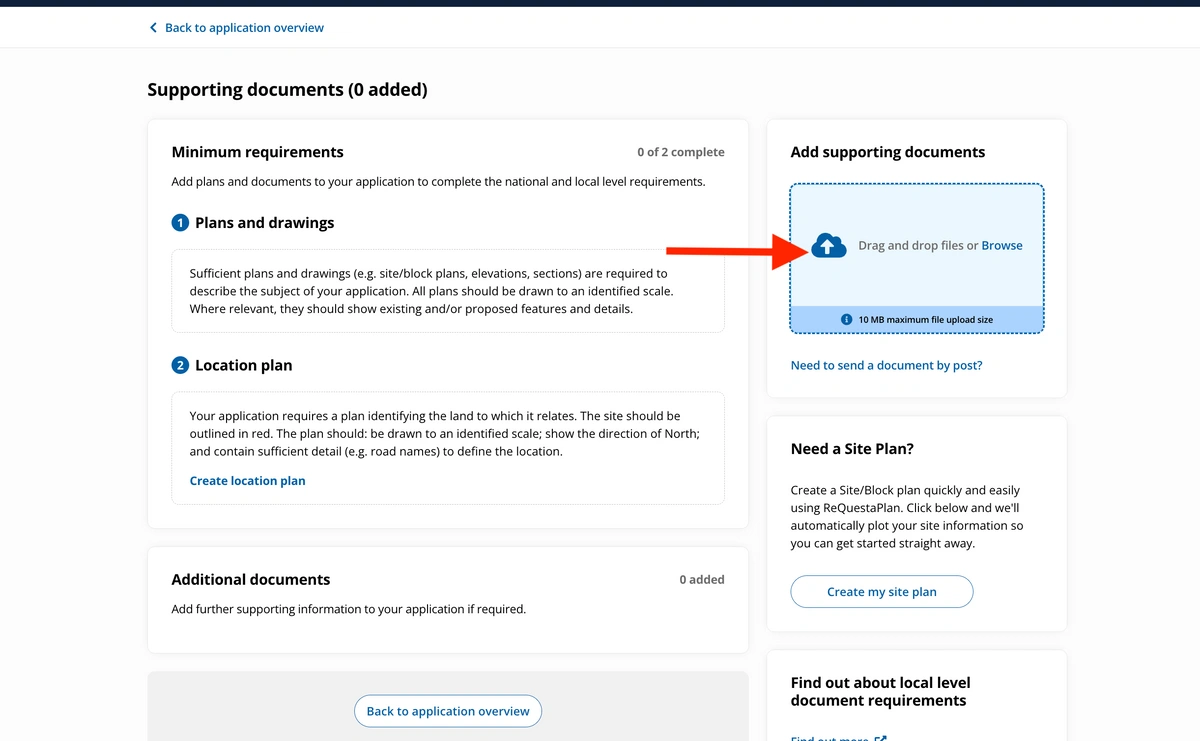
10. Browse and add or drag and drop your files in the blue box as shown below. PDF or PNG format documents are supported.
You are now able to continue your planning application. Do not forget to add the rest of your supporting plans (elevations, sections and other architectural plans) at the same time as your location/site plans. If you are unsure of what you need to submit you can find the requirements here.